


Posted inNews Technology Updates
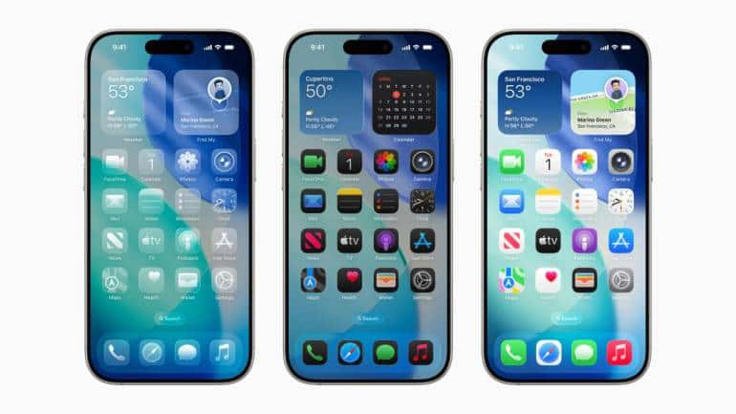
iOS 26.4: A Smarter, More Personalized iPhone Experience
Apple has officially released iOS 26.4, bringing a collection of thoughtful enhancements, intelligent features, and meaningful improvements designed to elevate the iPhone experience. This update places a strong emphasis on…