

Guide to install Microsoft Exchange Server on a Virtual Machine. This guide assumes you have already set up your virtual machine and installed Windows Server.
Recommended hardware specifications for Microsoft Exchange Server 2019
- Processor: 64-bit processors from Intel or AMD2.
- Memory: Up to 256 GB (an increase from 192 GB in Exchange 2016). 128 GB for installation, 200 MB free space on the system drive and 500 MB free space on the Message Queue Database drive.
- Hard Disk Space: 20 GB for installation, 200 MB free space on the system drive and 500 MB free space on the Message Queue Database drive.
- Server: 2U, dual socket servers with up to 48 physical processor cores (an increase from 24 cores in Exchange 2016).
- Other: A battery-backed write cache controller, 12 or more drive bays within the server chassis.
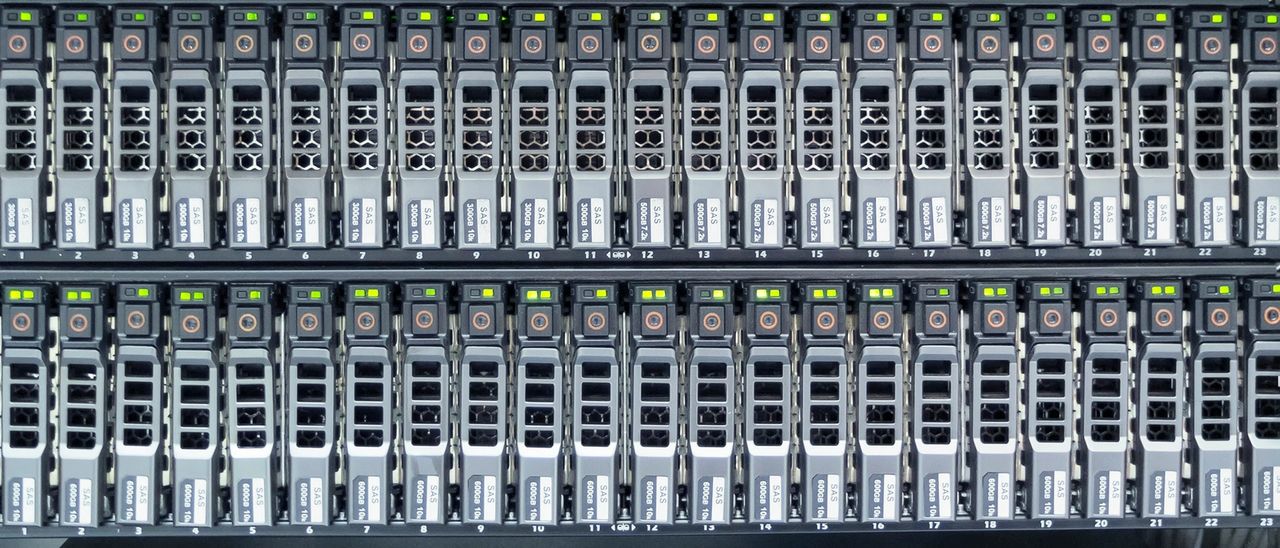
Storage recommendations for Exchange Server
Supported Storage Architectures:
- Direct-attached storage (DAS): A digital storage system directly attached to a server or workstation, without a storage network in between.
- Storage area network (SAN): An architecture to attach remote computer storage devices (such as disk arrays and tape libraries) to servers in such a way that the devices appear as locally attached to the operating system.
- Network-attached storage (NAS): A self-contained computer connected to a network, with the sole purpose of supplying file-based data storage services to other devices on the network.
Best Practices:
- Don’t share physical disks backing up Exchange data with other applications.
- Use dedicated storage networks.
- Use multiple network paths for stand-alone configurations.
- All storage used by Exchange for storage of Exchange data must be block-level storage.
- Using storage tiers isn’t recommended, as it could adversely affect system performance.
- Two mirrored hard drives for the operating system, Exchange Server installation, and Transport databases.
- Depending on the storage needs, several hard drives in a RAID to store the mailbox databases, with BitLocker encryption.
- SSDs to hold the Meta Cache Databases (MCDB) of Exchange Server 2019 formatted with ReFS with BitLocker encryption3.
Database Size Recommendations:
- Exchange High Availability (replicated): a maximum of 2000 GB (2 TB) per database4.
- Exchange Standalone (non-replicated): a maximum of 200 GB per database4.
Step 1: Prepare the Windows Server
- I nstall the latest Windows updates on your server.
- Install the necessary roles and features such as .NET Framework, Unified Communications Managed API, and others required by Exchange Server.
Step 2: Prepare Active Directory
- Run the following command in PowerShell to prepare the Active Directory:
.\Setup.exe /PrepareSchema /IAcceptExchangeServerLicenseTerms

.\Setup.exe /PrepareAD /OrganizationName:"<organization name>" /IAcceptExchangeServerLicenseTerms

.\Setup.exe /PrepareAllDomains /IAcceptExchangeServerLicenseTerms
- Replace <organization name> with the name of your organization.
Step 3: Install Exchange Server
- Download the latest version of Exchange Server from the official Microsoft website.
- Extract the downloaded file and run Setup.exe.
- Follow the prompts in the Exchange Server Setup wizard. Choose the appropriate options for your organization.
Step 4: Post-installation Configuration
- After installation, open the Exchange Admin Center (EAC) by browsing to https://localhost/ecp.
- Configure your mailboxes, policies, and other settings as per your organization’s requirements.
Step 5: Test the Installation
- Send a test email to ensure the Exchange Server is working correctly.
Best practices for backup and recovery of Exchange Server data:
1. Utilize Volume Shadow Copy Service (VSS)-Based Backup:
- VSS-based backups allow you to make and restore backups of Exchange data.
- Exchange includes a plug-in for Windows Server Backup that allows you to make and restore VSS-based backups.
2. Disaster Recovery:
- In the event of a hardware or software failure, multiple database copies in a DAG (Database Availability Group) enable high availability with fast failover and little or no data loss.
- This eliminates downtime and the resulting lost productivity that’s a significant cost of recovering from a past point-in-time backup to disk or tape.
3. Recovery of Accidentally Deleted Items:
- With the Recoverable Items folder in Exchange 2016 and Exchange 2019, and the Hold Policy that can be applied to it, it’s possible to retain all deleted and modified data for a specified period of time.
- This reduces the burden on Exchange administrators and the IT help desk by enabling end users to recover accidentally deleted items themselves.
4. Long-Term Data Storage:
- Backups have also been used as an archive, and typically tape is used to preserve point-in-time snapshots of data for extended periods of time as governed by compliance requirements.
- The new archiving, multiple-mailbox search, and message retention features in Exchange Server provide a mechanism to efficiently preserve data in an end-user accessible manner for extended periods of time.
5. Backup Exec Agent for Microsoft Exchange Server:
- Circular logging must be disabled if you want to run incremental and differential backups.
- Put transaction log files on a separate physical disk from the database.
- Set the retention period for deleted items and mailboxes to a length of time that is appropriate for the available disk space.
- Make Write Cache unavailable on the SCSI controller.

Settings and tools that you should install and configure:
1. Enter Product Key:
- You need to input the Exchange Product Key.
2. Rename and Move Exchange Database:
- You may need to rename the Exchange database and move it to a suitable location.
3. Create Send Connector:
- You should create a send connector for the Exchange Server.
4. Exchange Namespace Design and Planning:
- You need to design and plan the Exchange namespace.
5. Configure DNS:
- You should configure the internal DNS.
6. Configure Internal and External URL:
- You need to configure both the internal and external URLs.
7. Install the Exchange Management Tools:
- The management tools in Exchange Server include the Exchange Management Shell and the Exchange Toolbox.
- You can install the management tools on other client computers or servers in the Active Directory domain to help you manage your Exchange organization.
8. Integrate Instant Messaging with Outlook on the Web:
- You can integrate instant messaging with Outlook on the Web.
9. Configure Security Certificates for Authentication:
- You should configure the security certificates for authentication.
10. Configure Edge Subscriptions:
- If you have an Edge Transport server in your perimeter network, you should configure Edge subscriptions .
Always refer to the official Microsoft documentation for detailed instructions and best practices.


Great post. I was checking constantly this blog and I am impressed! Extremely useful information specifically the last part 🙂 I care for such information a lot. I was seeking this certain info for a long time. Thank you and good luck. http://www.kayswell.com